And: the last step was to drill/dremel holes for the LED and USB-C cable, and mount it in my kitchen, near the fridge. The timer makes a slight ticking noise, which I find appealing but helpful to have far away from my work. Perhaps the timer could be used as a strange kitchen timer, too..
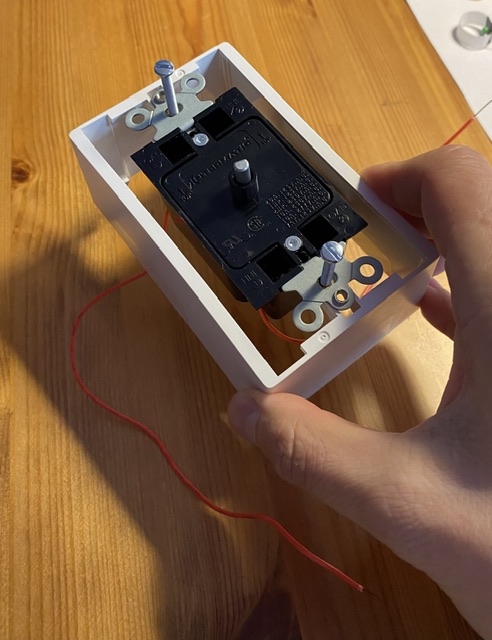
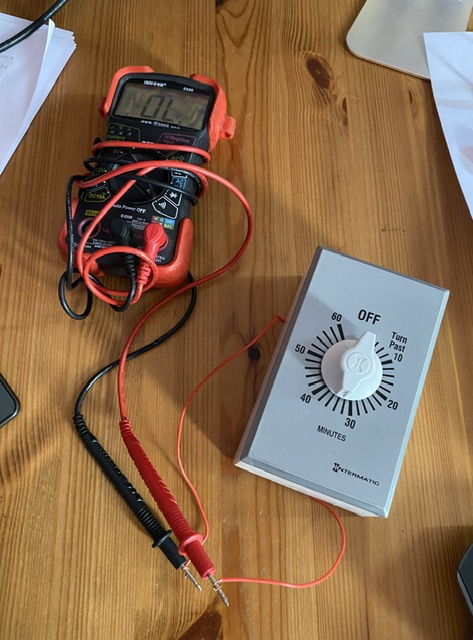
Inserting the rotational timer into a surface mount box ($5) and testing the timer with a multimeter to make sure that contact works. This is the Intermatic SW30MK 30-Minute Spring Wound Timer, approximately $18. I purchased the 30-minute one, but received the 60-minute one.
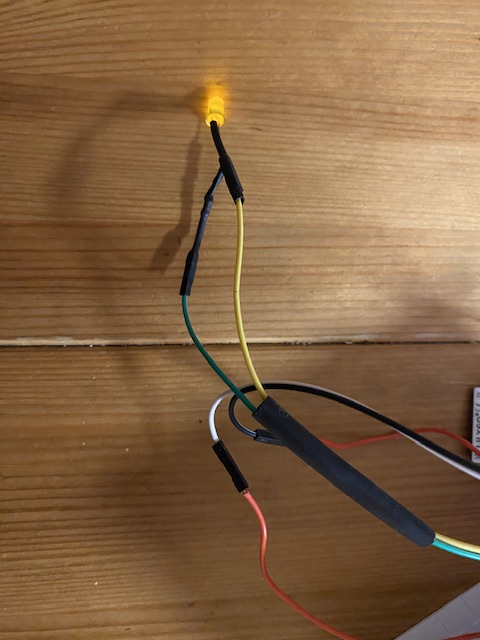
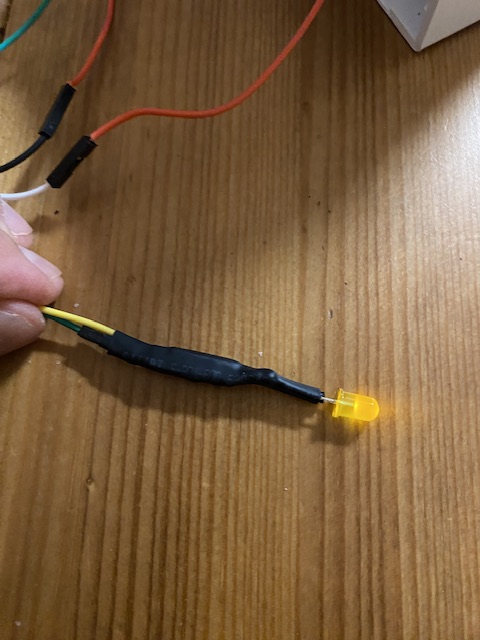
Adding an LED to the ESP32 with a 220 ohm resistor, and tidying things up with some shrinkwrap.
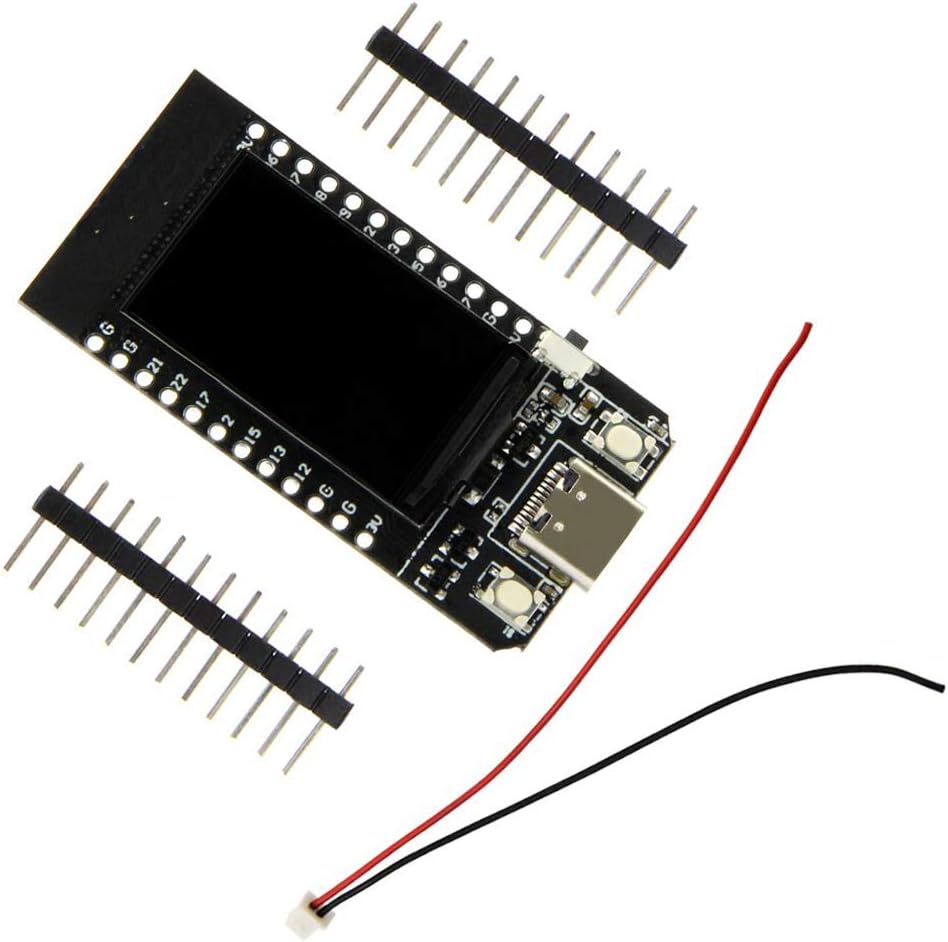
I used an ESP32 for this project; it was my first time working with this microprocessor. After tinkering around with Arduino, I found ESPHome incredibly powerful and simple to use, thanks to the ecology of pre-existing libraries. The ESP32 was sold as a HiLetgo ESP32 LCD WiFi Kit ESP-32, but it was labeled as a TTGO ESP T-Display. I didn't need the display after all, so in the future I'm hoping to swap out the $19 ESP32 with a $5 displayless one.
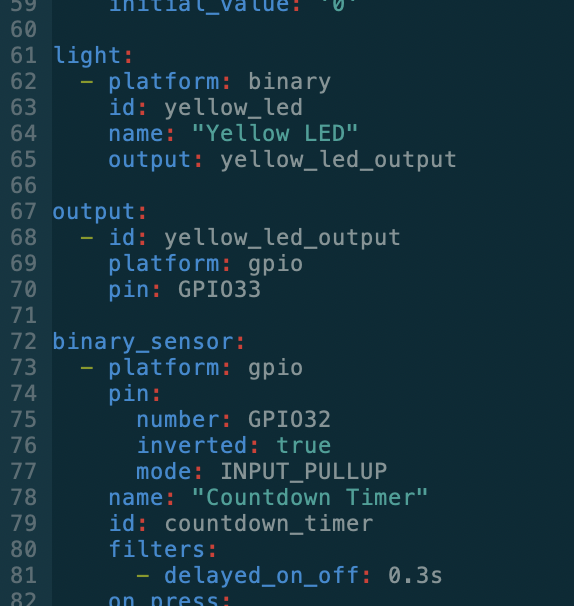
ESPHome has some built in filters that allow for 'debouncing' input to the GPIO pin. Based on multimeter testing the mechanical countdown timer seems to briefly disconnect the circuit when moving the dial, I wanted to make sure that the circuit would have a debounce function. The delayed_on_off: 0.3s worked perfectly.
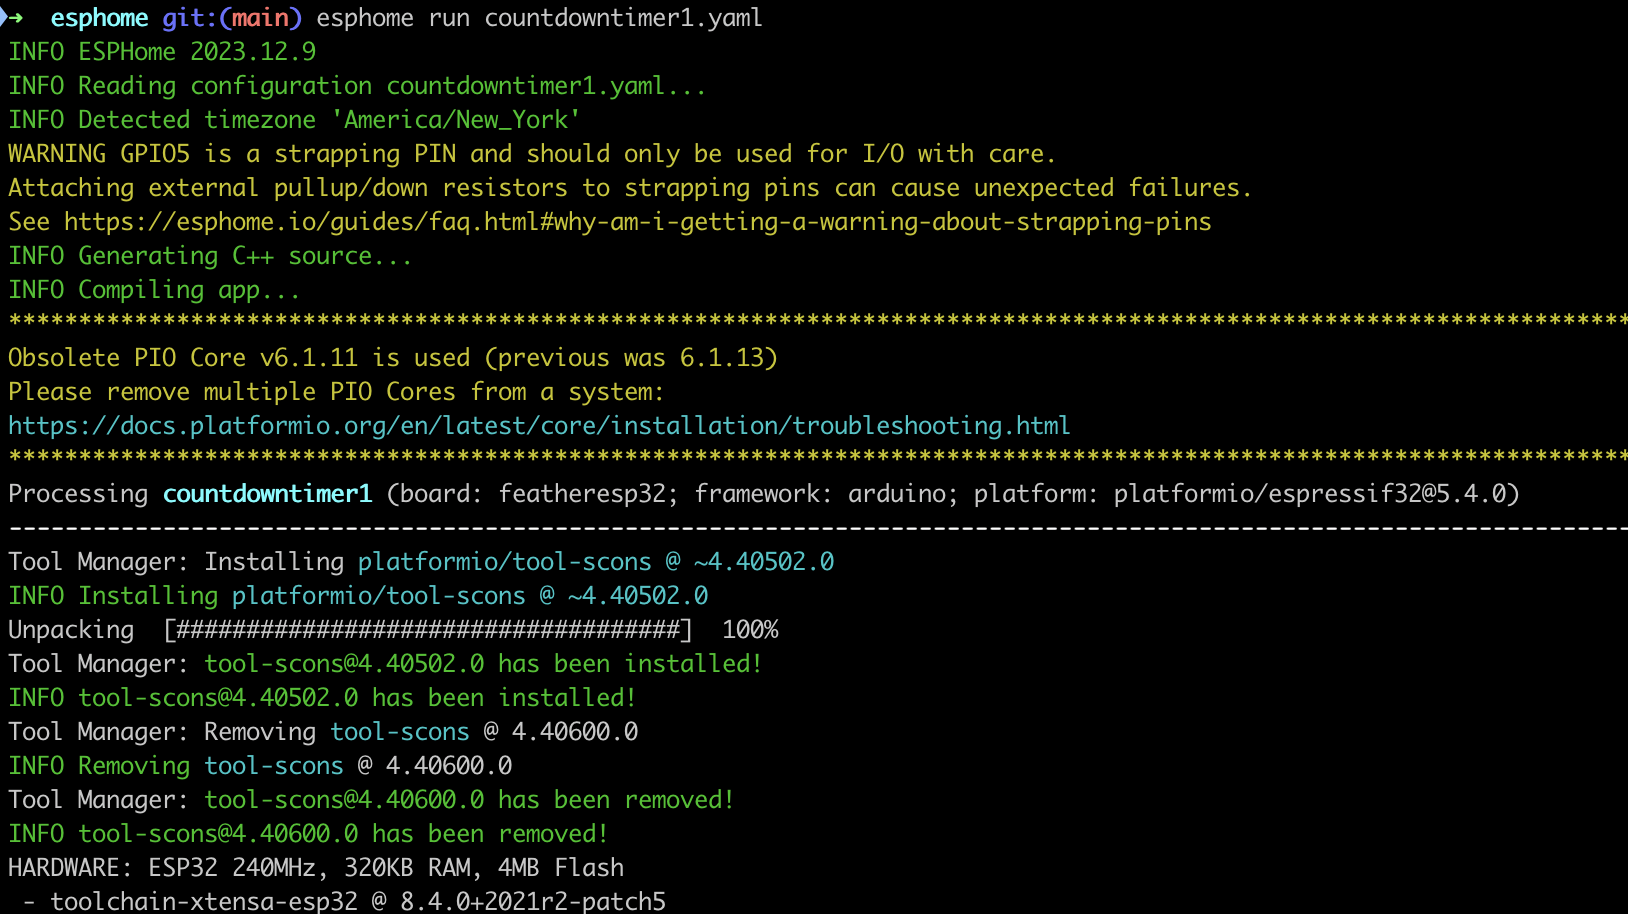
Compiling and building. ESPHome's capacity for sending OTA (over the air) updates is pretty amazing. I had added MQTT functionality to the ESPHome config file, so that the timer would broadcast a 'timer off' or 'timer on' signal, and any other device on the network could listen in on the ESP32 and intervene. (You can see the MQTT messages being received on the computer in the GIF.) I ended up not using this thanks to Home Assistant, but it's there in the countdowntimer1.yaml file anyways (alongside with some unneeded display code, too.)
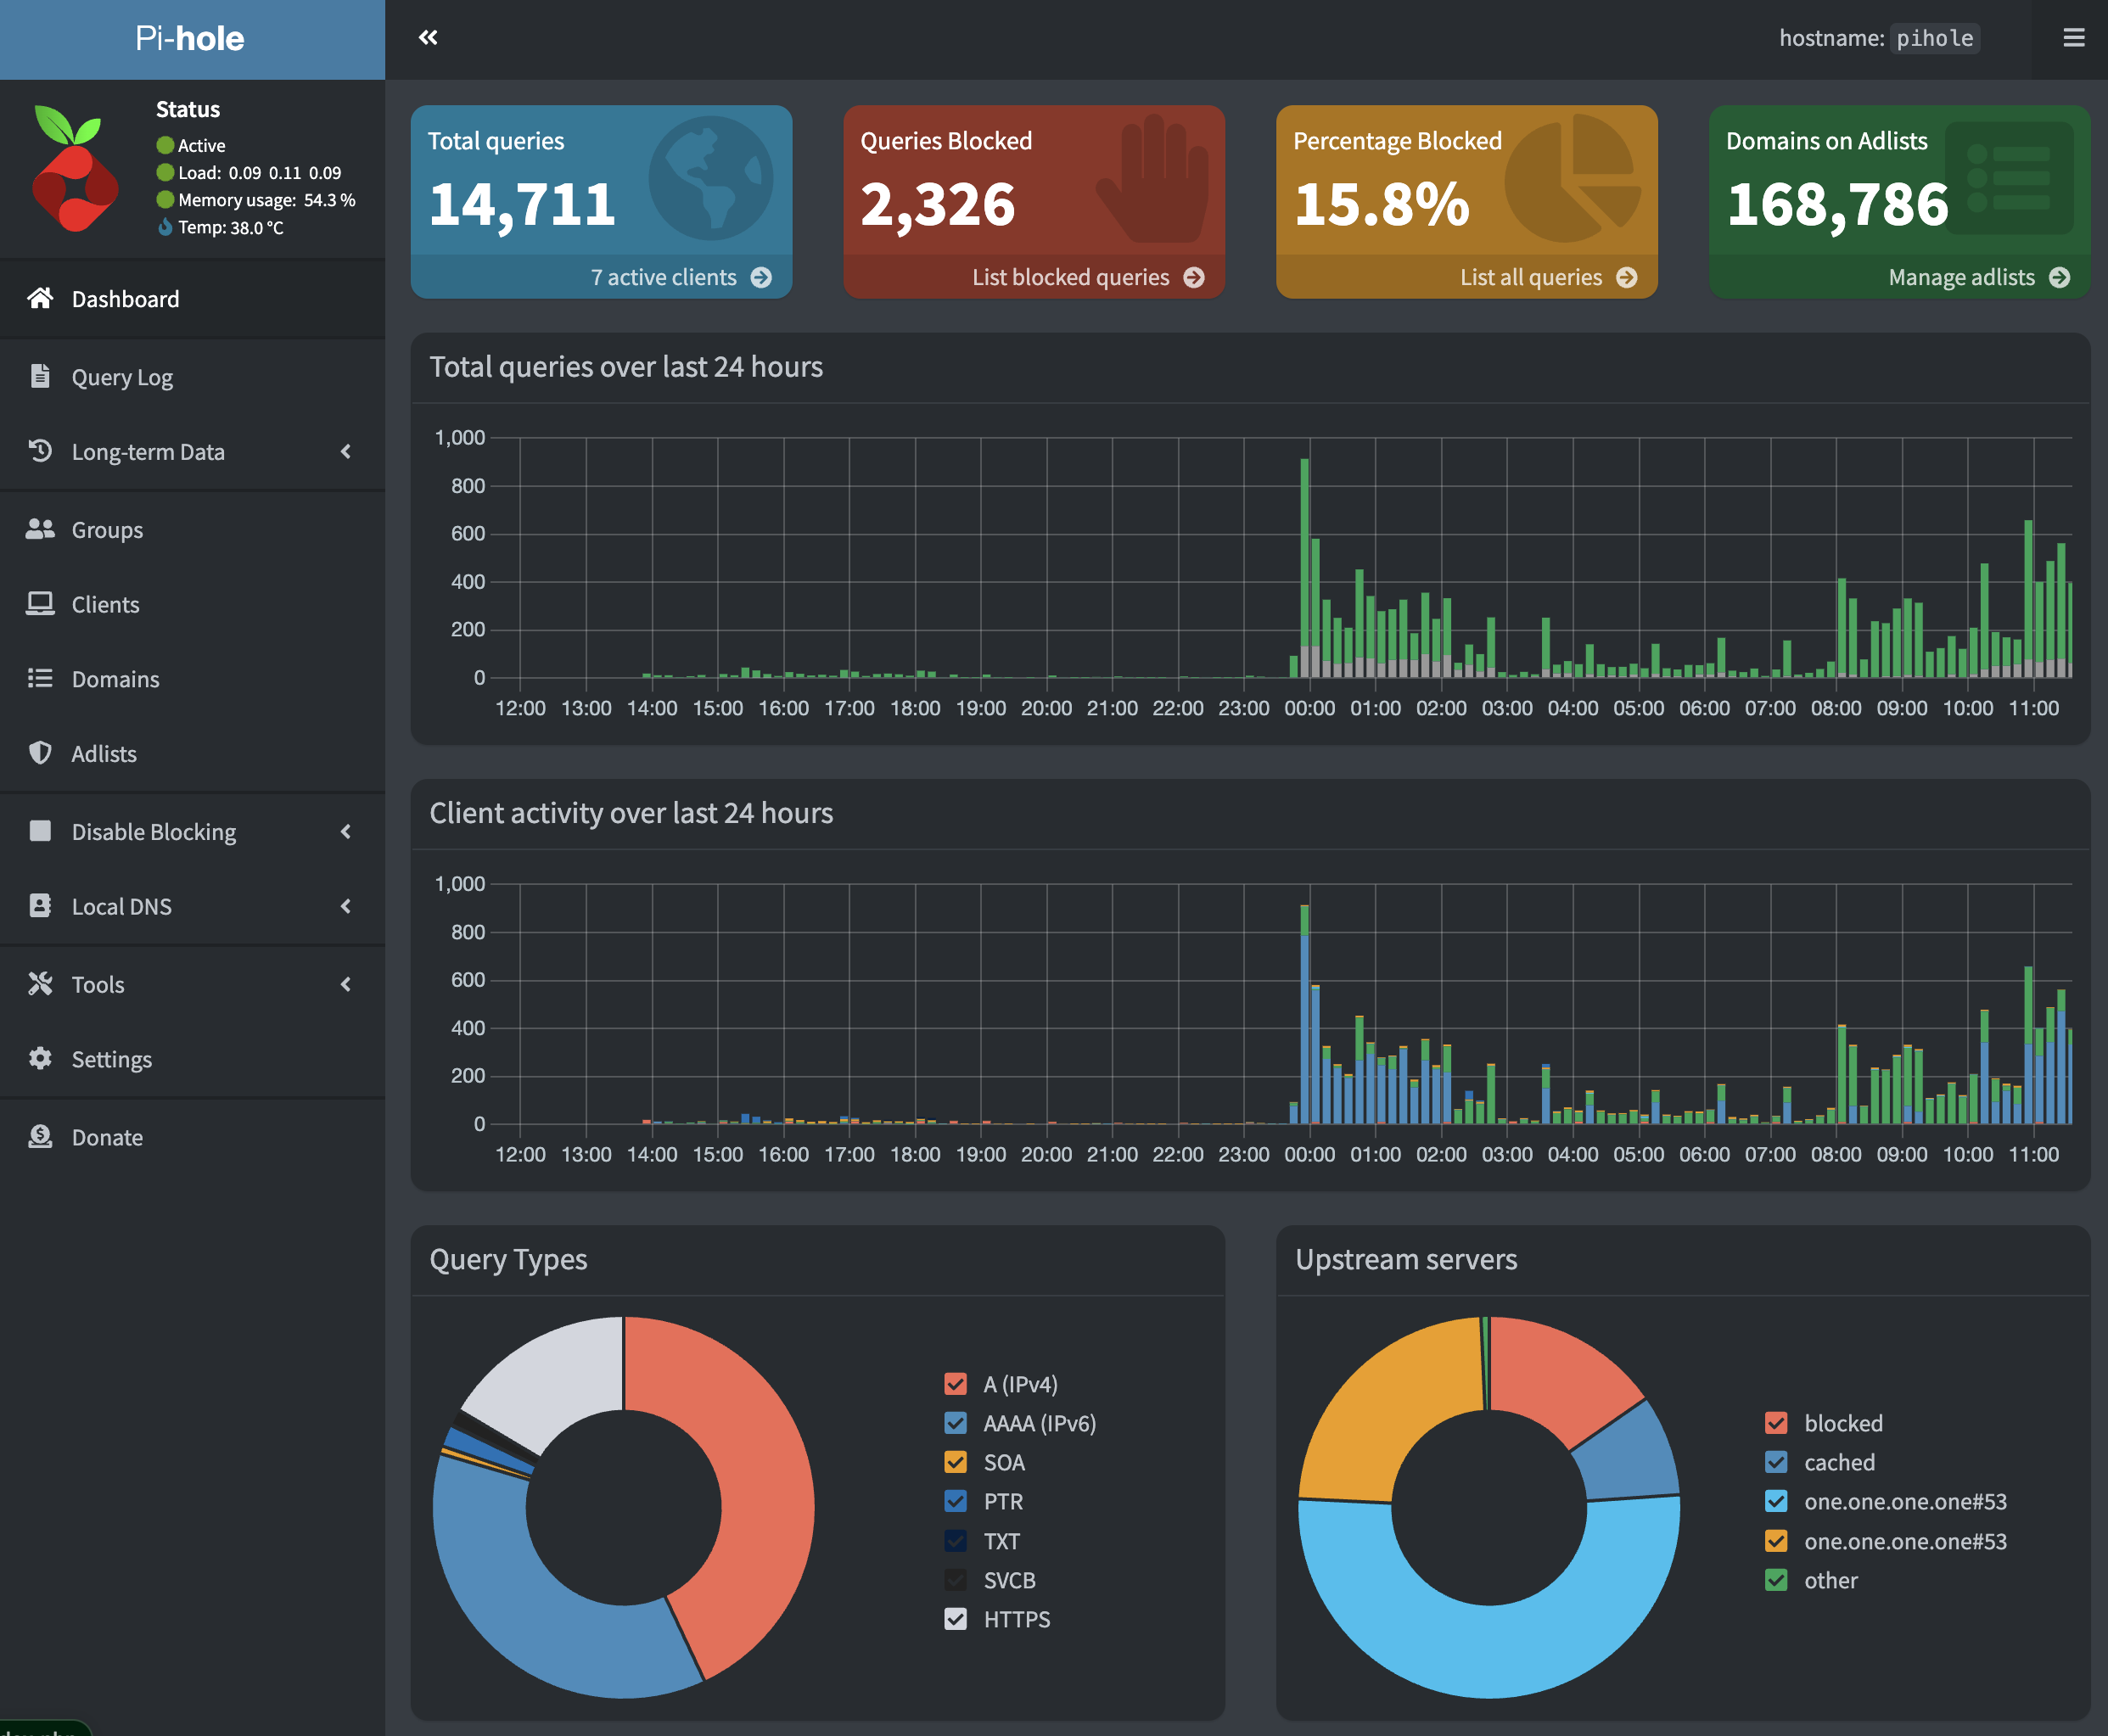
Pi-hole is a DNS server that blocks traffic to ads and domain of your choice. I installed Pi-hole on a home server using Docker; this script was instrumental in doing it on a Synology NAS server. Afterwards, I configured my home wifi router to use Pi-Hole's DNS, so that blocking is network-wide.
I initially wanted to add and remove domains programatically with Python, so had to fork a repository to create this python script: pihole_addremove_blocklist.py. I then installed HACS, to create a script that could be run by Home Assistant (which I had running already, also on Docker) This took half of my time; a veritable yak-shaving hole...
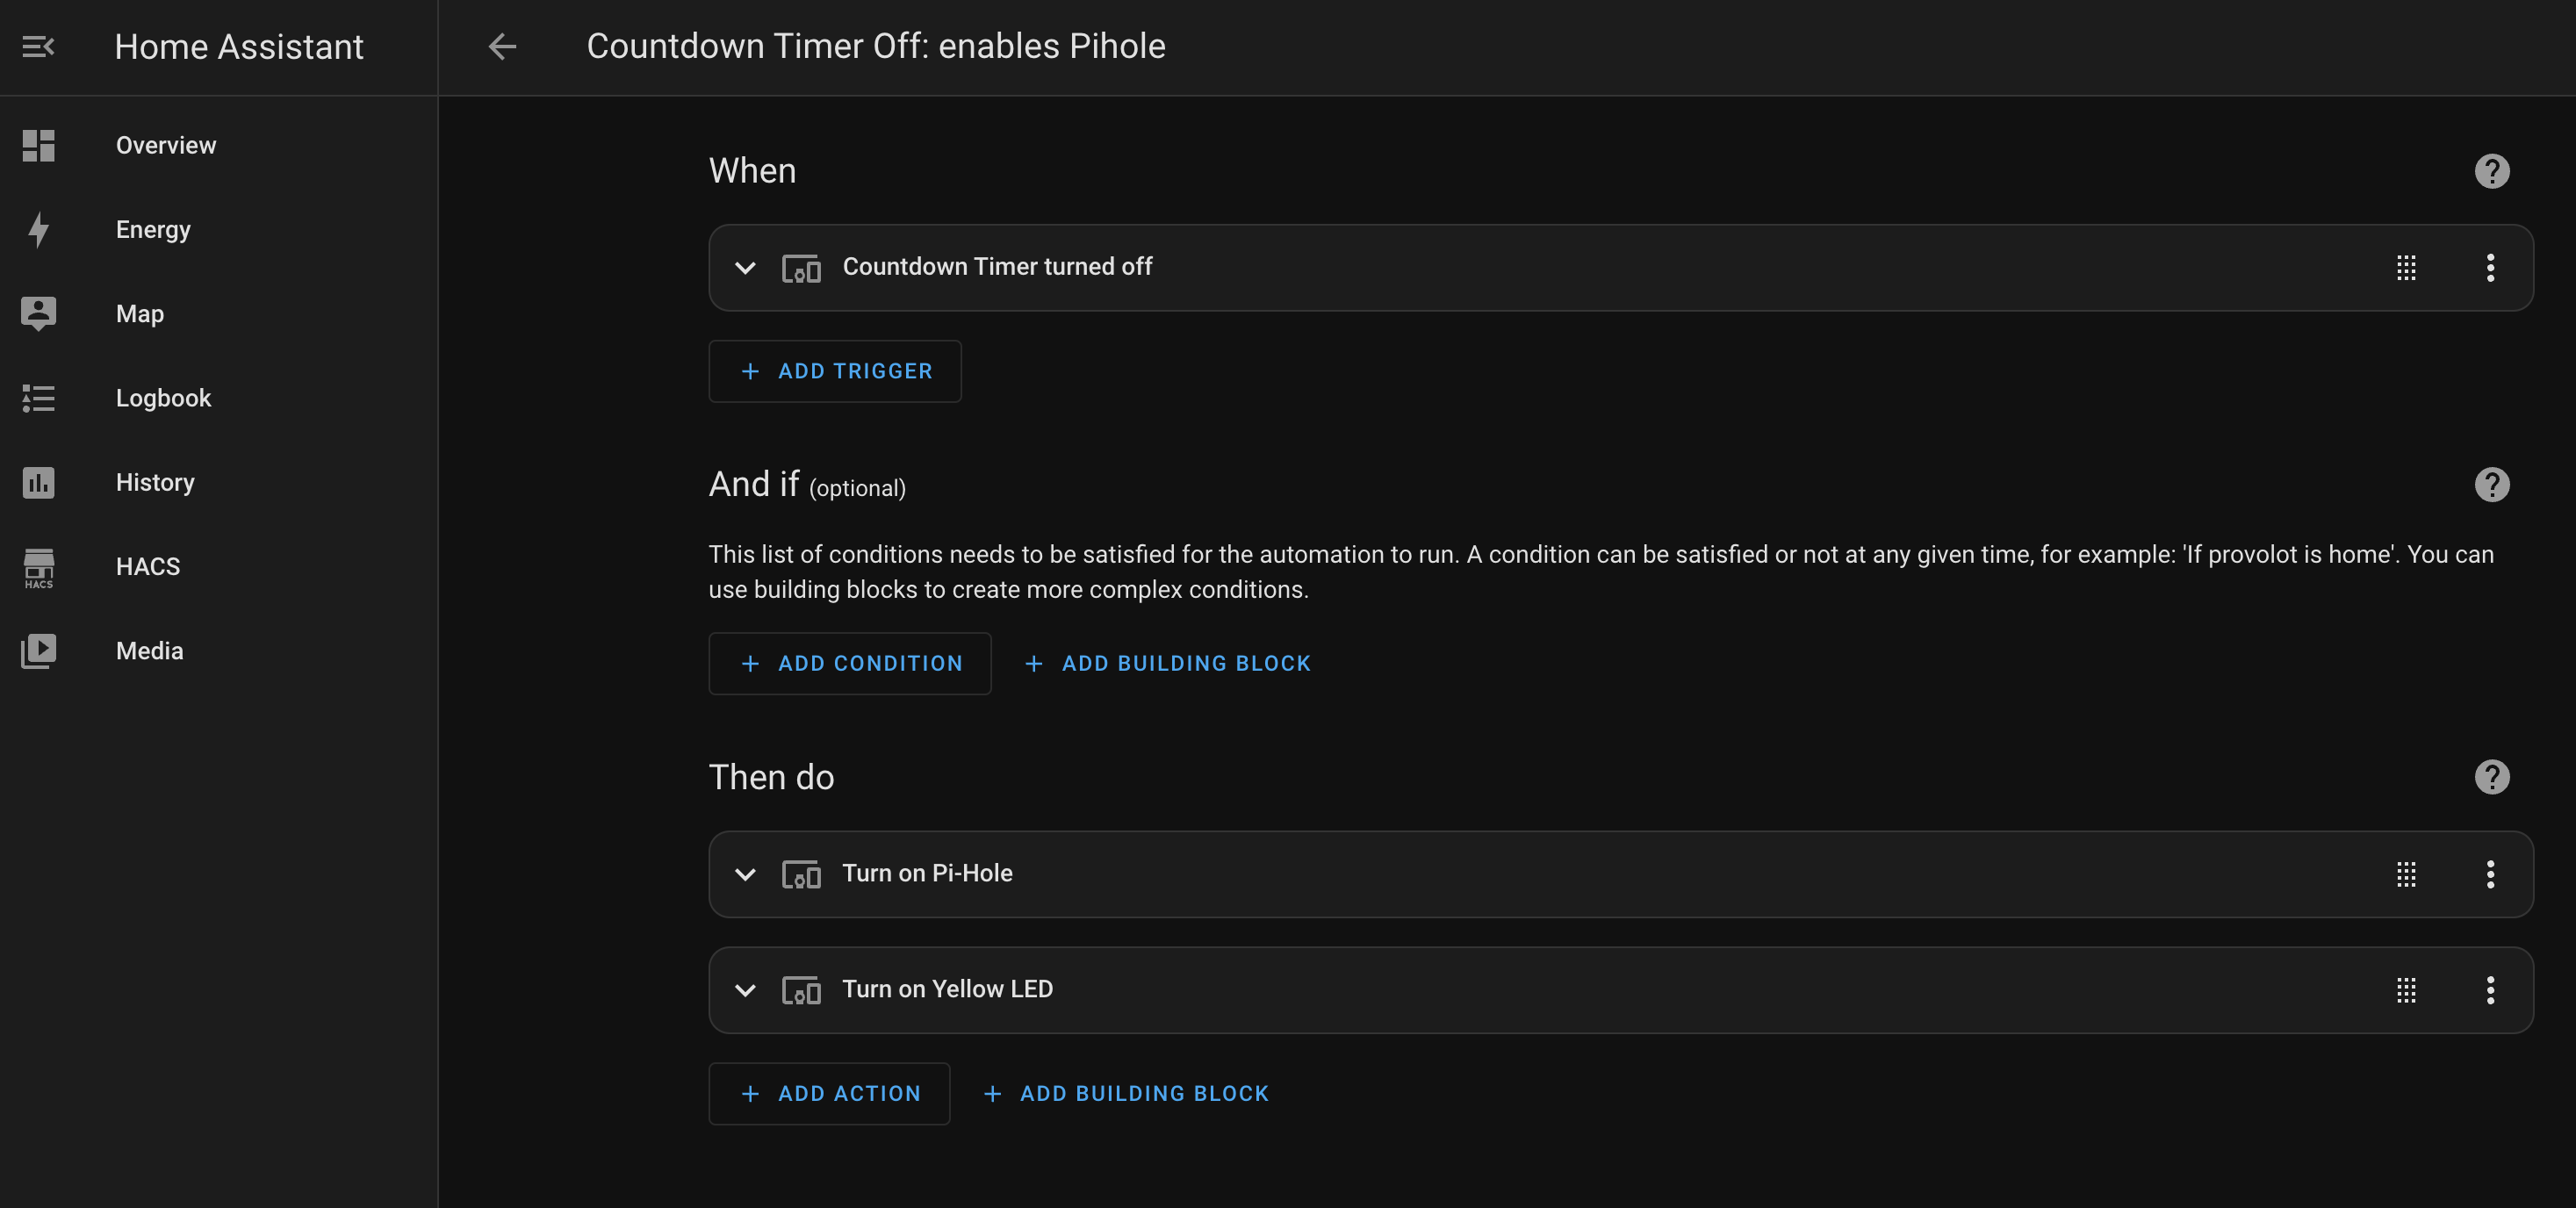
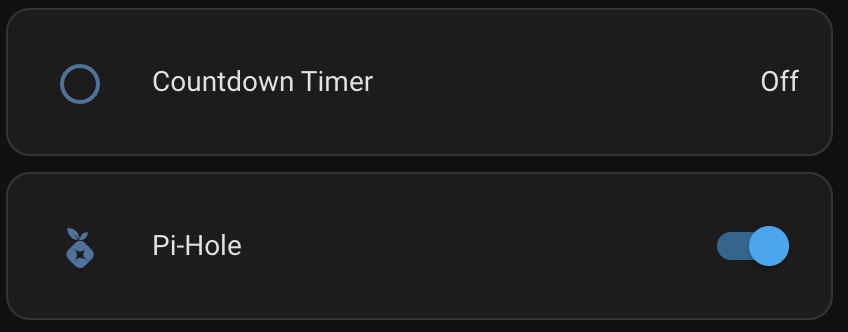
But I realized that you can just make integrations in Home Assistant! Because both Pi-hole and ESPHome have Home Assistant integrations that expose the binary sensor, the LED light, and the ability to enable/disable Pi-hole, the integration was very simple.
The workflow is working! So: the ESP32 running ESPHome is connected to Home Assistant, which a) triggers an integration to enable/disable Pi-Hole, and b) turn on/off the LED.
I decided to have the Home Assistant integration trigger the LED, rather than handling it locally on the ESP32, so that there's real confirmation that the integration was triggered: if the integration doesn't work, the LED won't change state.
Future versions
This particular setup works because Home Assistant is already running on a home server. A standalone Pi-Hole installation running on a Raspberry Pi Zero inside the box enclosure might be simpler.. but less fun.